
This week we are using GOOGLE Forms to host the STUCO Elections. My STUCO Rep (and 4th grade teachers) was nervous to make the change but I pushed the issue and I am SO glad I did.
Here is a picture of the ballot she had created prior to my GOOGLE push. She created this in Word and I think my timing irritated her a little because it took about 40 minutes to create this. The model using the paper ballot was that each student returned to class after the assembly and voted with paper and pencil. The ballots were then returned to the office where they were counted later in the day. Elections results were typically announced at the end of the day.

GOOGLE forms is so, so easy!! It took my 11 minutes to use the teacher's computer (pulled pics from the recycle bin) to have a working ballot with NO HEADACHES.
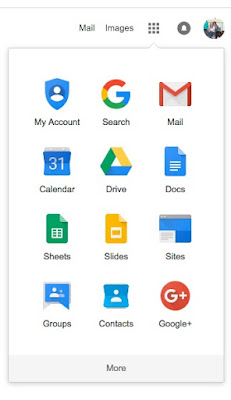
First, find FORMS from your GOOGLE Grid. I have included the second picture to show how you may have to search beyond "More".


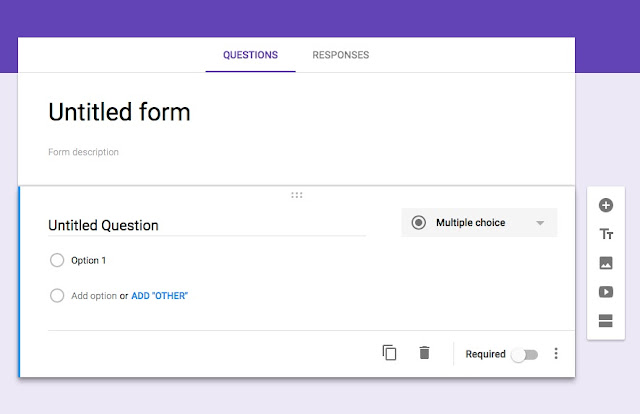
For our purposes you want to make sure the Multiple Choice option is chosen.
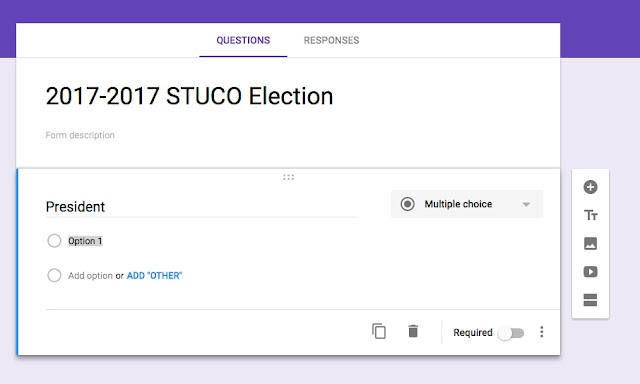
This is where you will fill in the Title and turn the first Question into your first voting option (in this case President). When Option 1 is highlighted you will click on the photo option from the column on the right side of the question. You will then be prompted to choose and image. *My recommendation at this point is to use images from your Drive, it speeds up the process. Uploading from your computer is not long either.

After you have inserted the image this is what your first "choice" will look like. To ADD ANOTHER CANDIDATE, CLICK ON "ADD OPTION". You will then be able to add a new photo (candidate).


Once you have added all of the Candidates for President it is time for a New Question (new position). You create this by clicking on the + sign to the right of the question.

At this point you repeat the process of adding the Candidates and labeling them. When all Candidates have been added you can easily preview your ballot. Click on the eyeball logo in the upper right hand corner of the form.

This is what your Ballot looks like at this point:

Once you are happy with the Form you share easily. I prefer the link option as an easy way to share with all of my Teachers. I also like the one click access this gives Teachers. Click on the Send button (right next to the Settings/ Preview buttons).

After I click on the Link option. I make sure the Shorten URL box.

The Final Ballot is intuitive one touch Form. Once the selections are made they need to click on the Blue Submit.

Once the response is submitted the Voter needs to click the "Submit another response". This will reset the form for another response.

When you are ready to view the results it is one touch away. Click on the Pencil in the upper right hand corner. This will return you to the Editing Ability.

This is where you can see your Responses. This MAY BE my favorite feature of the Forms - RESULTS!!

As you can see, the Results are numeric and visual. I know our STUCO reps are THRILLED to not be counting votes next week. I also appreciate the integrity of these results.

The possibilities are unlimited with GOOGLE Forms and I LOVE how easy it is to CREATE a Form and how easy it is to USE a Form and how easy it is to GET RESULTS from a Form.
Let me know if I forgot any steps and also PLEASE show me your favorite Forms. My teachers are new to this and any examples I can share with them is helpful!!!
No comments:
Post a Comment